

Calendar Print-Out
/Creating a Monthly Calendar Print-Out
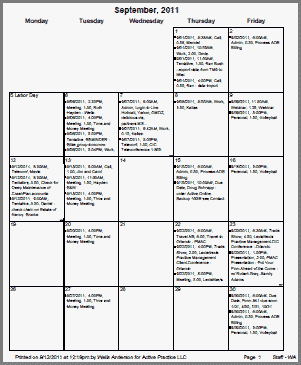
Though using less paper is important, sometimes you are well-served by a month-at-a-glance calendar print-out. Here are the steps we suggest for setting up a saved report you can use to print your Time Matters calendar.
We have selected a 5-days per week view to allow more text for each day. You can select the more typical 7-days per week view if you prefer it.
The real secret to creating a good Calendar report is to select the right fields. Choose too many and a day's appointments won't fit in its box. They will carry over onto a second page that contains just these overflow entries.
Other secrets are to be specific and concise in what you enter as the Description for each of the Events on your Calendar and to use Classification Codes for all Events.
Once you have set up this report, you will be able to print it quickly by going to the Calendar, clicking the Printer button, selecting the report, and pressing Print.
Setting Up the Monthly Calendar Report
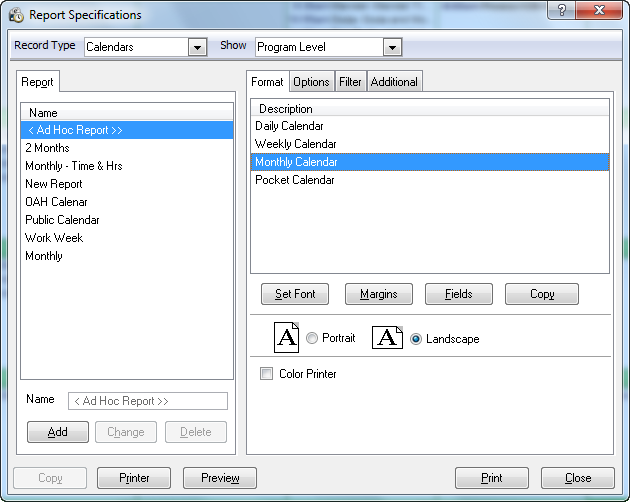
Start by going to the Calendar and selecting the Printer button just above the Calendar on the far right.
Under Report, select:
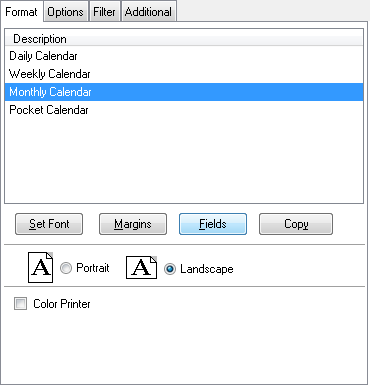
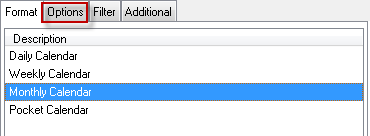
Under Format, select: Monthly Calendar
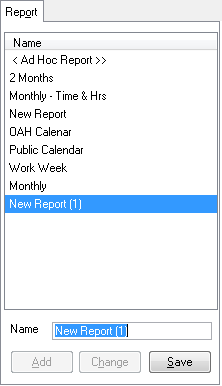
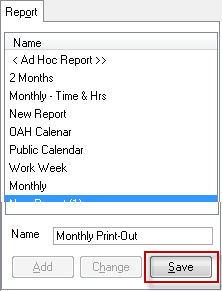
Click the Add button (lower left)
In the Name field, type a name for the report, like: Monthly Print-Out
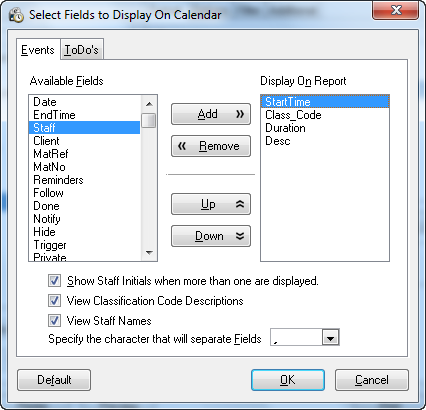
Under Format, click the Fields button
Use the Remove button to clear the fields listed in the right panel.
Use the Add button to add:
- Start Time
- Duration
- Classification Code
- Description
Or choose your own selections of fields to appear in each day's box.
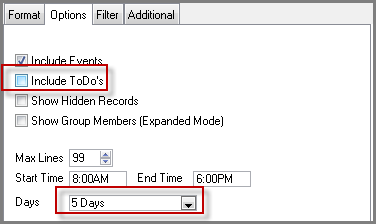
Click the Options button.
Uncheck: Include ToDo's
Select: 5 Days (or 7 Days)
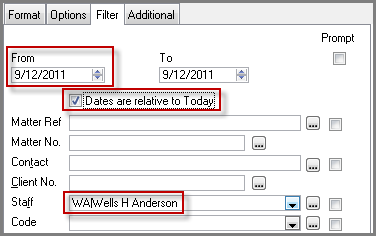
Click the Filter tab.
Leave today's date in the date boxes.
Check the box: Dates are relative to Today.
Click the Save button.
Now click the Preview button to see the resulting report. If you need to tweak the report, click the Change button.